Home / News / Industry news / Step-By-Step Guide To Operating A Polyurethane High Pressure Foaming Injection Machine
Step-By-Step Guide To Operating A Polyurethane High Pressure Foaming Injection Machine
Industry news-
Quick Answer
To operate a polyurethane high pressure foaming injection machine correctly, you must follow a structured sequence: preheat and verify raw material temperatures (typically 20–25°C for polyol and isocyanate), set mixing ratios and injection pressure (commonly 100–180 bar), perform a test shot, confirm cream time and gel time, then run production. Skipping any step — especially pressure calibration or temperature stabilization — leads to inconsistent foam density, surface defects, or mold damage. This guide walks through every stage in practical detail.
Understanding the Polyurethane High Pressure Foaming Injection Machine
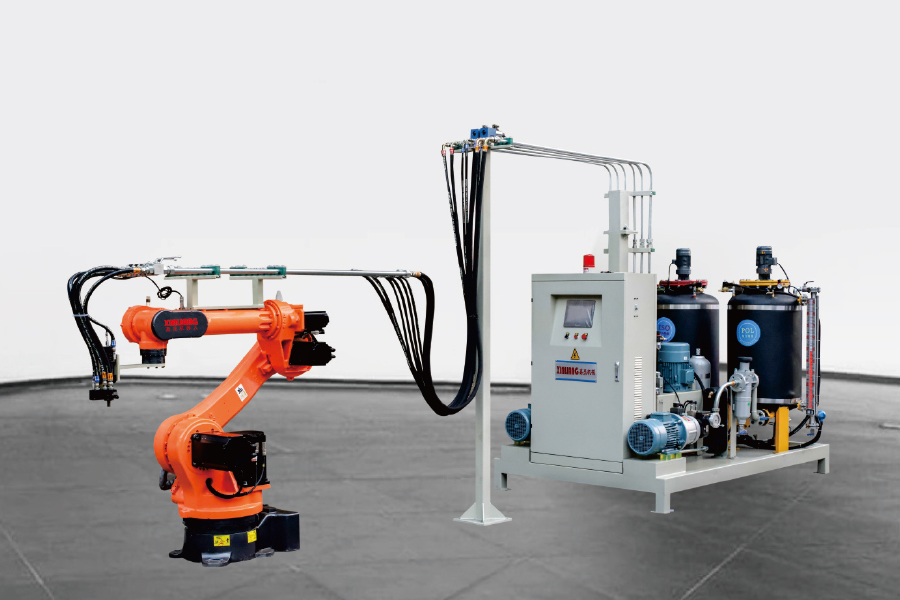
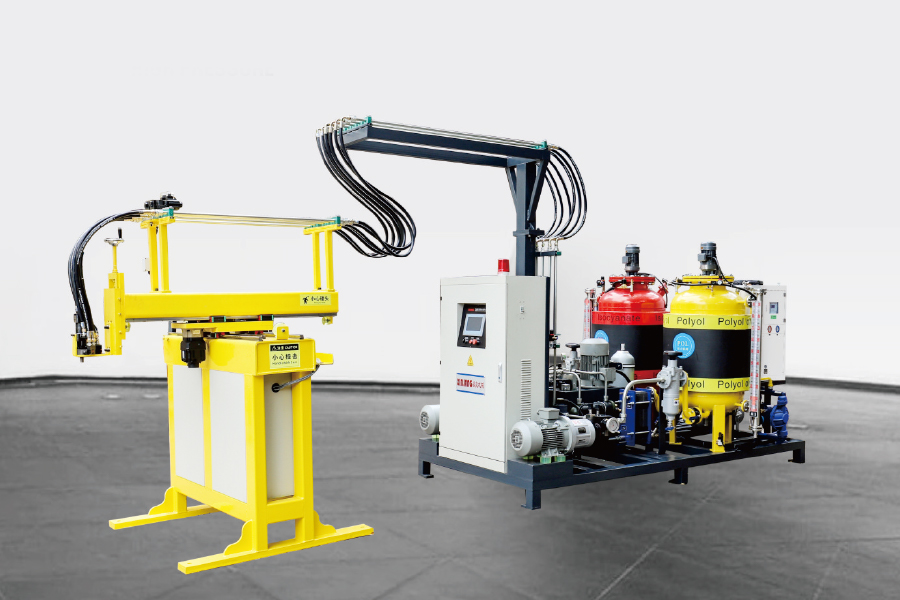
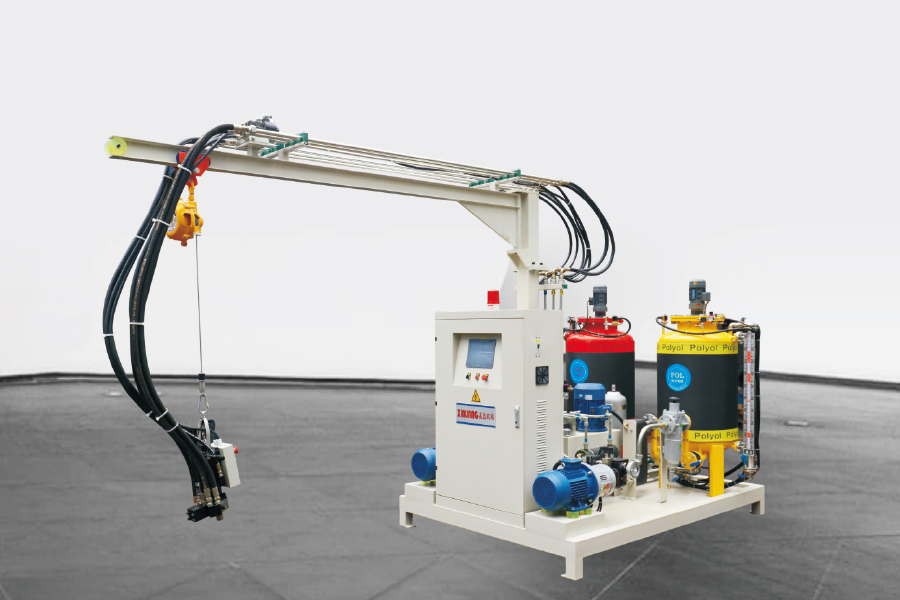
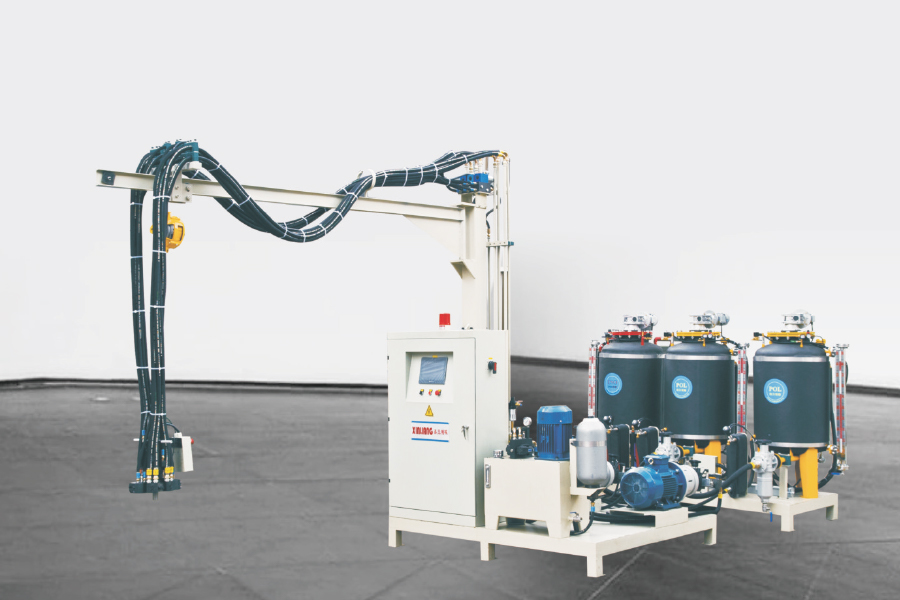
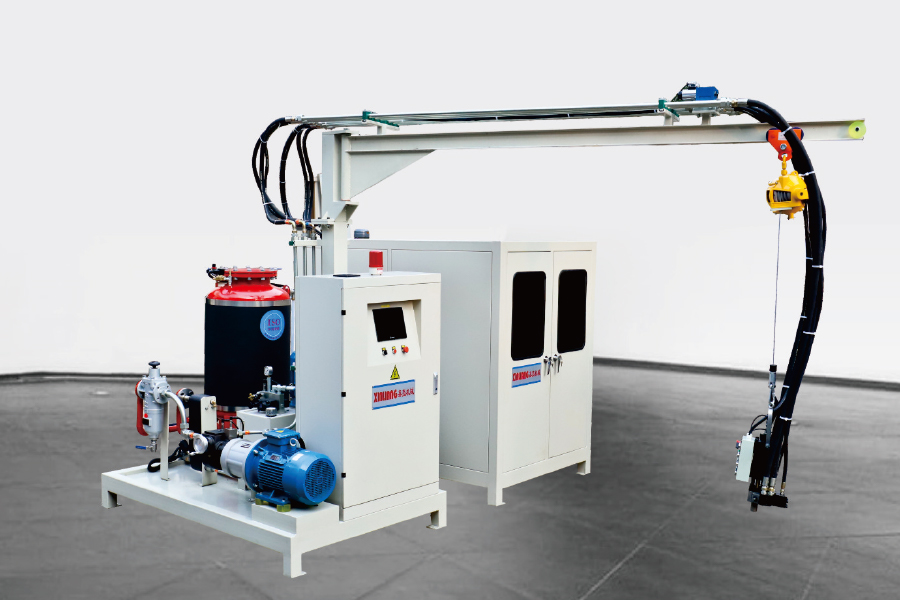
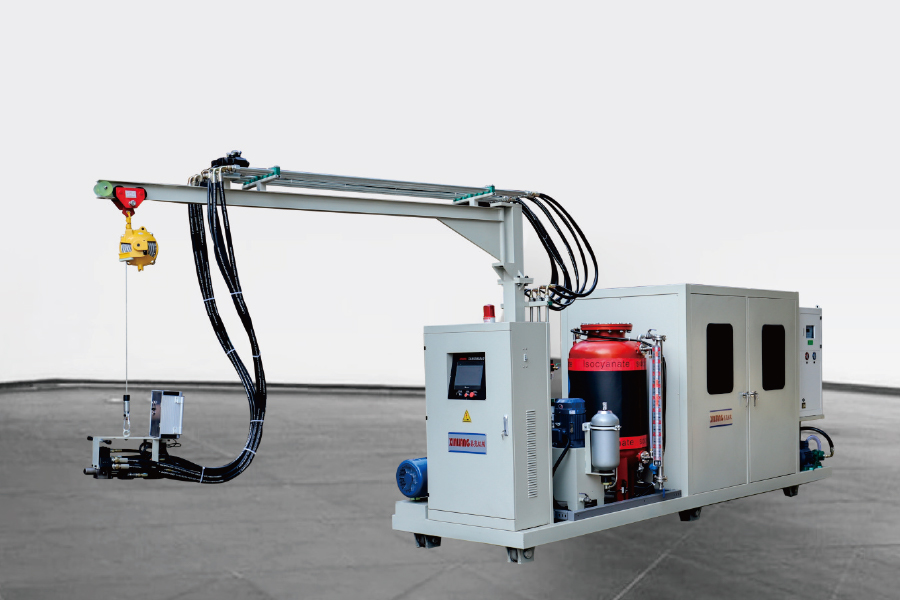
A polyurethane high pressure foaming injection machine is a specialized piece of manufacturing equipment that precisely meters, mixes, and injects two reactive liquid components — typically an isocyanate (Component A) and a combined polyether polyol blend (Component B) — into a mold or open cavity where they react and expand into finished PU foam parts.
Unlike low-pressure hand-pour systems, high-pressure machines use impingement mixing: the two components are injected at high velocity into a small mixing chamber where they collide and mix intimately in milliseconds. This produces more uniform cell structure, faster cycle times, and better surface quality — all critical for products such as automotive interiors, car seats, steering wheels, children's wheels, fitness equipment, mattresses, and decorative strips.
Component A (Isocyanate)
Conventional MDI or polymeric MDI. Highly reactive, moisture-sensitive. Stored and metered at controlled temperature, typically 20–22°C.
Component B (Polyol Blend)
Combined polyether containing polyol, catalyst, surfactant, blowing agent (141B, F11, water foaming, or cyclopentane). Temperature: 22–25°C for consistent reactivity.
Mixing Head
High-pressure impingement chamber where A and B collide at 100–180 bar. Self-cleaning plunger purges the head after each shot, preventing blockage.
Metering System
Precision hydraulic or servo-driven piston pumps maintain the programmed A:B ratio (typically 1:1 to 1:2 by weight) within ±0.5% tolerance throughout the shot.
Pre-Operation Checklist: What to Verify Before Starting
Preparation is where most foaming quality problems are either prevented or created. Complete the following checks every shift before the first production run.
Raw Material Inspection
Confirm tank levels — isocyanate and polyol tanks should not fall below 20% capacity during a production run.
Check material temperatures: polyol at 22–25°C, isocyanate at 20–22°C. Deviations greater than ±2°C will shift reactivity and foam density.
Inspect isocyanate for crystallization or cloudiness — discard any batch showing visible contamination or moisture exposure.
Verify polyol blend has been thoroughly stirred if it has been stationary for more than 4 hours, as catalyst and surfactant can settle.
Machine Mechanical Check
Inspect all hose connections and fittings for leaks — pay particular attention to the isocyanate circuit as MDI reacts aggressively with moisture in ambient air.
Verify that the mixing head cleaning plunger moves freely through its full stroke without binding.
Check hydraulic oil level and temperature. Oil should reach operating temperature (40–50°C) before production begins.
Confirm that the mold release agent applicator is filled and functioning — insufficient release agent is the leading cause of part sticking and mold damage.
Control System Verification
Load the correct production program for the current product — shot weight, injection time, A:B ratio, and pressure profile must match the product specification sheet.
Confirm that all temperature controllers are active and holding set-point values for tank heaters, hose heaters, and mixing head heaters where applicable.
Test all safety interlocks: emergency stop, pressure-relief valve, and over-temperature alarms should all respond correctly before any chemical is pressurized.
Step-By-Step Operating Procedure
The following sequence reflects the standard operating procedure for a polyurethane high pressure foaming injection machine running a typical rigid or flexible foam product. Times and values are illustrative — always follow your machine's specific program parameters.
Step 1 — System Warm-Up (20–40 minutes)
Switch on tank heaters, hose trace heating, and hydraulic power unit. Allow all temperature zones to reach set-point and stabilize. Do not pressurize the chemical circuits until temperatures are stable for at least 10 minutes. This prevents thermal shock to seals and ensures consistent material viscosity from the first shot.
Step 2 — Pressure Recirculation Check
With the mixing head in recirculation mode, bring Component A and Component B to operating pressure (typically 100–150 bar depending on the formulation). Observe both pressure gauges for stability — pressure should hold steady within ±3 bar. Hunting or fluctuating pressure indicates air in the circuit or a worn pump seal that must be addressed before production.
Step 3 — Flow Rate Calibration and Ratio Verification
Direct the output of each component into separate tared containers and trigger a timed calibration shot (typically 10–30 seconds). Weigh each container and calculate the actual A:B ratio. If it deviates by more than ±2% from the target ratio, adjust pump speed or stroke settings and repeat until within tolerance. This step is non-negotiable — an off-ratio mix will produce foam with incorrect density, hardness, or cell structure regardless of all other parameters.
Step 4 — Test Shot Into Open Cup
Fire a test shot into a paper or plastic cup (do not use mold). Immediately start a stopwatch and record cream time (when mixture begins to expand and lighten — typically 3–8 seconds for flexible foam), gel time (when a toothpick dragged across the surface pulls strings — typically 20–50 seconds), and tack-free time. Compare values against the product specification. If reaction times are off, the likely causes are material temperature deviation, off-ratio mix, or degraded catalyst in the polyol blend.
Step 5 — Mold Preparation and Release Agent Application
Apply mold release agent evenly to all mold surfaces. Allow solvent carrier to flash off completely (typically 30–60 seconds at room temperature) before closing the mold. New molds require 3–5 seasoning shots with heavy release agent before they can be run on a reduced-release schedule. Confirm mold temperature is within spec — most flexible PU products require mold temperatures of 45–65°C for optimum surface quality and cure speed.
Step 6 — Production Injection
Close and clamp the mold. Position the mixing head at the injection gate. Trigger the injection cycle — the machine's PLC will execute the programmed shot time, controlling flow and pressure through the mixing head automatically. For products requiring fill from multiple gates or a moving pour, the program handles this via a pre-set motion profile. After injection, the head automatically purges with the cleaning plunger.
Step 7 — Cure, Demold, and First-Part Inspection
Allow the foam to cure in the mold for the prescribed cure time before demolding. Premature demolding causes part deformation — for automotive seat foam at 55°C mold temperature, minimum cure time is typically 3–5 minutes. After demolding, allow parts to equilibrate at room temperature for at least 30 minutes before dimensional inspection. Check density (cut and weigh a sample cube), hardness (ILD test for flexible foam), and visual surface quality against standards before approving the first full production batch.
Critical Process Parameters and Their Impact on Foam Quality
Understanding how each process variable influences the final product is essential for rapid troubleshooting. The chart below summarizes the relative impact of common parameter deviations on foam quality outcomes, based on field data from polyurethane high pressure foaming production environments.
Relative Impact of Parameter Deviation on Foam Quality (% defect rate increase)
A:B Ratio Deviation >2%
+92%
Material Temp Off ±3°C
+78%
Insufficient Release Agent
+65%
Injection Pressure Unstable
+55%
Mold Temp Out of Range
+48%
Premature Demold
+38%
Based on aggregate field data from polyurethane foam production facilities. Values represent typical defect rate increase vs. in-spec baseline.
Reference parameter ranges for typical flexible and rigid PU foam applications on high-pressure machines.
Parameter
Flexible Foam (e.g. Seat / Mattress)
Rigid Foam (e.g. Insulation Panel)
Integral Skin (e.g. Steering Wheel)
Polyol Temperature
22–25°C
20–24°C
24–28°C
Isocyanate Temperature
20–22°C
20–22°C
22–25°C
Injection Pressure
100–130 bar
130–180 bar
120–160 bar
A:B Ratio (by weight)
1:1 to 1:1.5
1:1.2 to 1:1.8
1:1 to 1:1.3
Mold Temperature
45–65°C
35–50°C
50–65°C
Minimum Cure Time in Mold
3–5 min
5–10 min
4–6 min
Cream Time (target)
4–8 sec
2–5 sec
3–6 sec
Comparing Foaming Methods: 141B, F11, Water Foaming, and Cyclopentane
Selecting the right blowing agent significantly affects the process parameters on your polyurethane high pressure foaming injection machine. Each method has distinct handling requirements, foam properties, and regulatory considerations.
Blowing Agent Comparison: Water vs 141B vs Cyclopentane (5-axis)
Water Foaming
Most environmentally friendly option. CO₂ generated in-situ acts as blowing agent. Widely used for flexible foam seats and mattresses. Slightly higher machine operating temperature required.
141B (HCFC)
Produces fine, uniform closed-cell structure ideal for rigid insulation and integral skin parts. Subject to phase-down regulations in many regions; check local compliance before specifying.
Cyclopentane
Zero ODP, low GWP. Produces excellent thermal insulation values in rigid foam. Requires explosion-proof machine construction and ventilation. Used extensively in refrigerator and freezer panel lines.
F11 (CFC-11)
Legacy blowing agent largely phased out under the Montreal Protocol. Some legacy equipment may still reference F11 formulations; modern replacement is typically 141B or cyclopentane depending on application.
Common Foaming Defects and How to Diagnose Them
When a polyurethane foaming injection machine produces defective parts, the cause is almost always traceable to one of a small number of root causes. Use the following guide to narrow down the issue quickly.
Production Defect Frequency by Root Cause Category (%)
Defect Symptom
Most Likely Cause
Corrective Action
Low density / under-filled mold
Under-shot weight, A:B ratio too high on isocyanate
Increase shot weight 5% increments; re-check ratio calibration
Surface voids / pinholes
Mold temperature too low, inadequate venting
Raise mold temperature 5°C; check vent locations for blockage
Coarse, non-uniform cell structure
Mixing pressure too low, contaminated mixing head
Increase impingement pressure; flush and inspect mixing head
Part sticking to mold
Insufficient release agent, premature demold
Apply additional release agent; extend cure time in mold
Reduce mold temperature 3–5°C; check heat distribution uniformity
Routine Maintenance Schedule for Long-Term Machine Reliability
A well-maintained polyurethane foaming machine can run reliably for 10–15 years or more. Reactive chemicals, high pressures, and tight tolerances mean that deferred maintenance quickly escalates into costly repairs and production losses.
Daily
Flush mixing head with solvent after production
Check and record operating pressures and temperatures
Inspect hose connections and drain any condensation
Weekly
Perform ratio calibration and document results
Inspect pump seals for weeping or staining
Check hydraulic oil level and filter condition indicator
Monthly
Disassemble and clean mixing head impingement orifices
Inspect and replace worn pump packings if flow variance exceeds ±1.5%
Test all safety relief valves for correct set-pressure
Annual
Full hydraulic oil change and filter replacement
Overhaul metering pumps: replace all dynamic seals and valve seats
Recalibrate all temperature and pressure sensors against traceable standards
About Ningbo Xinliang Machinery Co., Ltd.
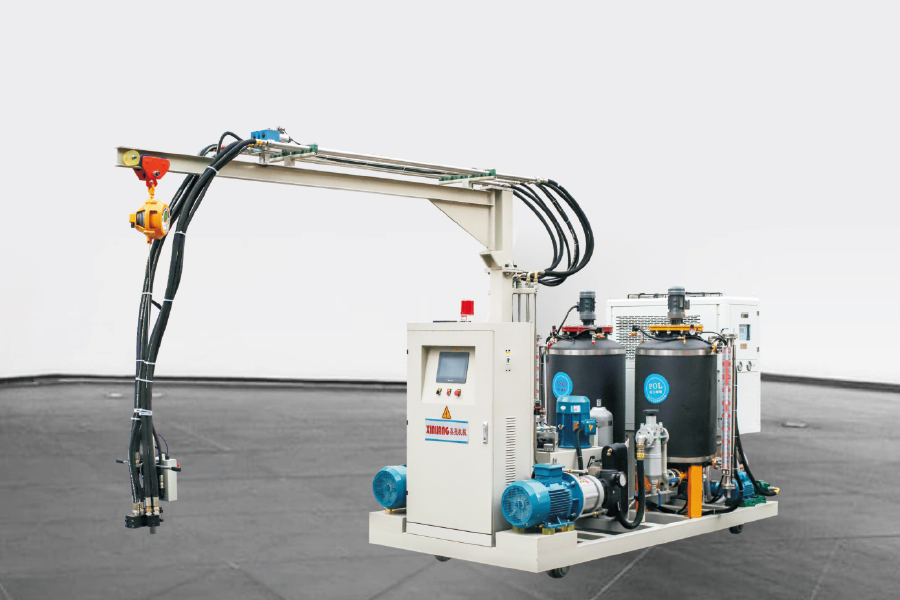
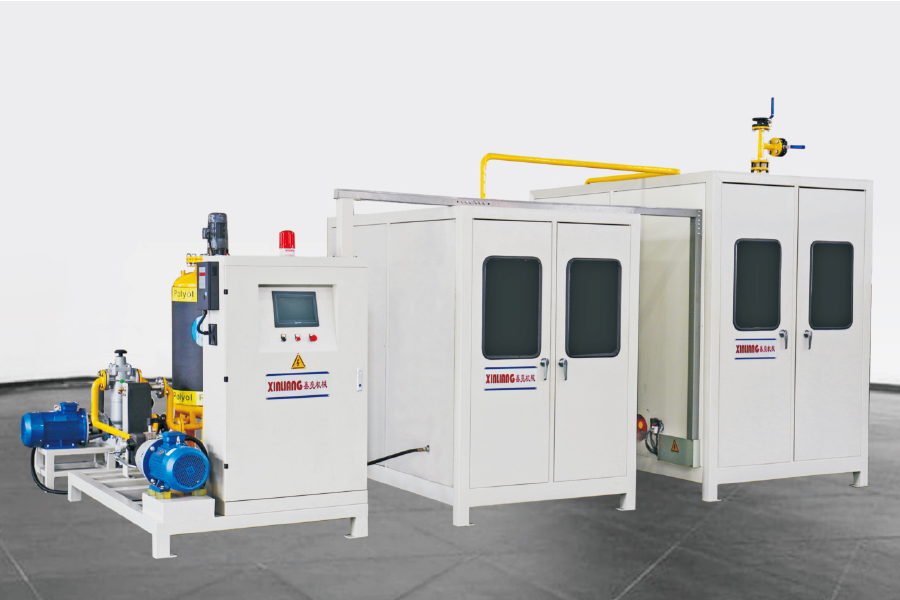
Ningbo Xinliang Machinery Co., Ltd. is an enterprise combining industry and trade, dedicated to producing polyurethane foaming equipment, polyurethane foaming production lines, and cyclopentane polyurethane foaming complete equipment. As a professional high-tech enterprise specializing in polyurethane foaming equipment research, development, manufacturing, and technical services, Xinliang brings over ten years of specialized design experience to every project.
The company's polyurethane high pressure foaming injection machine is compatible with 141B, F11, water foaming, and cyclopentane foaming methods, and can handle all major PU product categories — from children's wheels and fitness equipment to automotive interiors, car seats, steering wheels, decorative strips, headrests, and mattresses. The machines adopt advanced high-pressure impingement mixing technology, ensuring uniform foam and precise flow and pressure control.
The proprietary control software has been continuously optimized over 10 years, resulting in a system that is stable, easy to operate, and efficient for production workers. Xinliang serves as both a custom polyurethane high pressure foaming injection machine supplier and an OEM manufacturer, relying on Zhejiang's strong industrial foundation and a development philosophy of "scientific and technological innovation, pursuit of specialization" to deliver customized solutions for the global polyurethane industry.
10+ Years
Continuous Software Optimization
4 Methods
141B / F11 / Water / Cyclopentane
OEM & Custom
Manufacturer & Supplier
Full Support
Technical Services & Solutions
Frequently Asked Questions
Q1: What is the difference between a high pressure and low pressure polyurethane foaming machine?
High pressure machines use impingement mixing — both components are injected at 100–180 bar into a small chamber where they mix through kinetic energy. This produces more uniform cells, faster cycle times, and better surface quality. Low pressure machines mix components at under 30 bar using a mechanical stirrer, which is simpler but less consistent for demanding applications like automotive or appliance parts.
Q2: How often should I calibrate the A:B mixing ratio on my foaming machine?
Ratio calibration should be performed at the start of every production shift and any time a new material drum is connected. Additionally, recalibrate whenever you observe a change in foam density, cream time, or gel time that cannot be explained by material temperature alone. Document all calibration results — a trending deviation often signals a worn pump seal before it causes visible quality problems.
Q3: Can the machine be used for both flexible and rigid polyurethane foam?
Yes. A properly configured polyurethane high pressure foaming injection machine can produce both flexible and rigid foam by switching formulations and adjusting process parameters — primarily A:B ratio, component temperatures, injection pressure, and shot weight. Different mixing head nozzle sizes may be required for different flow rates. Many manufacturers run multiple product families on a single machine by using saved programs for each product type.
Q4: What blowing agent is recommended for a new polyurethane foaming production line in 2024–2025?
For flexible foam (seats, mattresses, fitness equipment), water foaming is the most compliant and cost-effective choice. For rigid insulation foam where thermal performance is critical, cyclopentane is the preferred modern alternative to 141B, offering zero ODP and better long-term regulatory compliance. Always confirm local environmental regulations before finalizing blowing agent selection, as regional rules vary significantly.
Q5: How long does it take to train a new operator on a high pressure foaming machine?
A new operator can typically complete initial training in 3–5 days under the guidance of an experienced technician, covering start-up procedures, ratio calibration, test shot evaluation, and shutdown. Becoming fully proficient in troubleshooting foam defects and performing maintenance procedures takes 2–4 weeks of supervised production experience. Manufacturers like Xinliang Machinery provide comprehensive on-site training and ongoing technical support as part of machine commissioning.
Q6: Is custom configuration available for specific product requirements?
Yes. As a custom polyurethane high pressure foaming injection machine supplier, Ningbo Xinliang Machinery offers configurations tailored to specific output requirements, mold types, blowing agent systems, and production line layouts. OEM services are available for companies requiring branded equipment. Customers are encouraged to provide product specifications and annual volume targets so the engineering team can recommend the most suitable machine configuration and provide a complete technical solution.

 English
 русский
 عربى
عربى