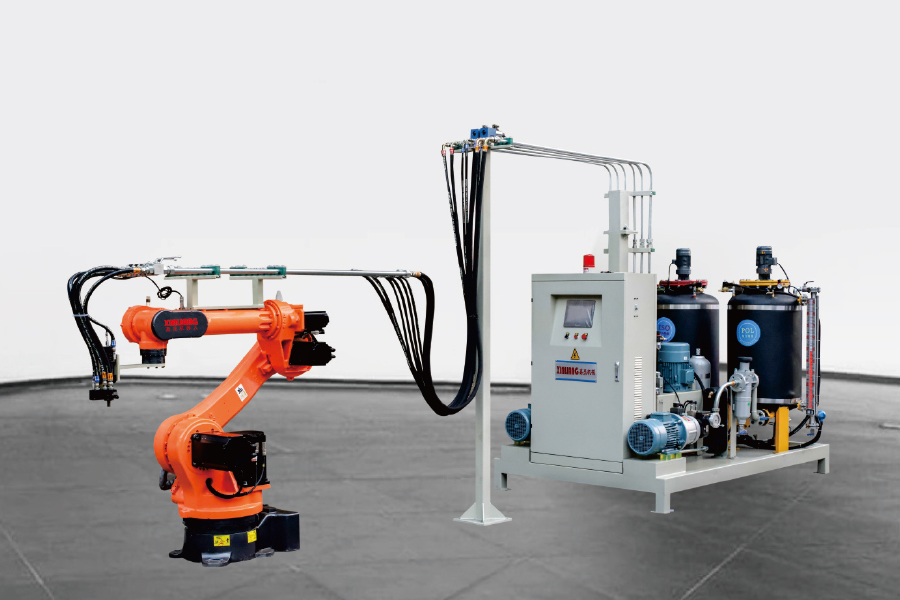
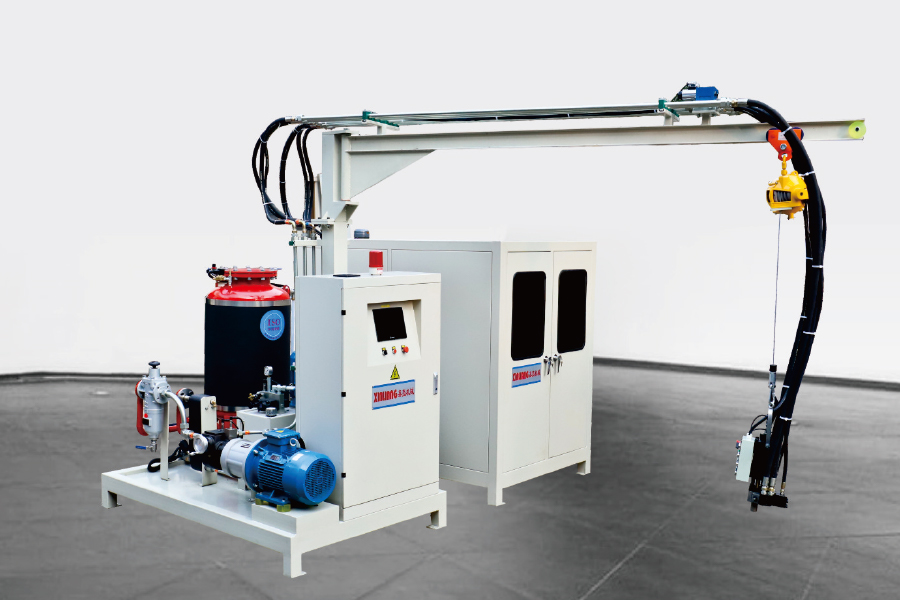
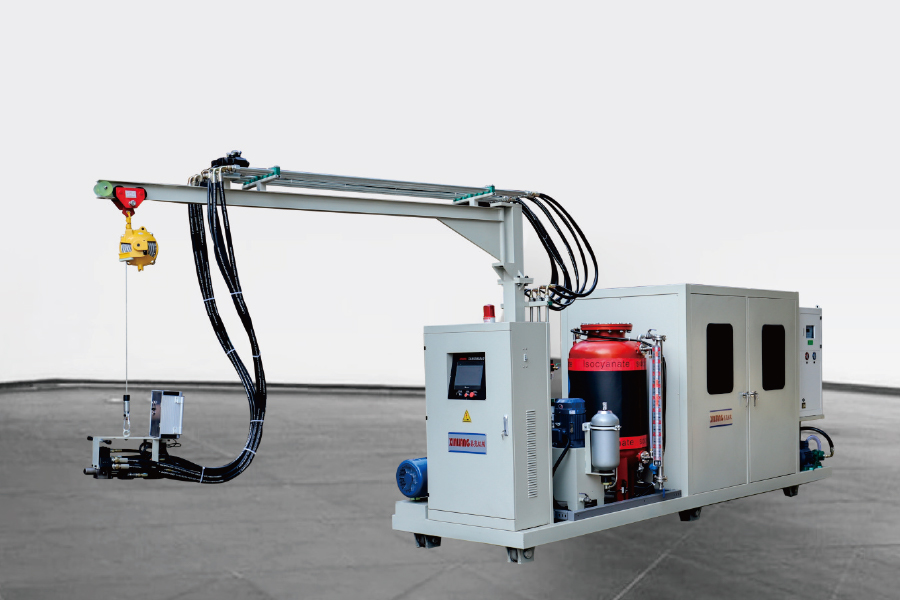
In automotive seat manufacturing, the precision and consistency of polyurethane (PU) foaming directly impact ride comfort and safety. Traditional manual injection methods suffer from uneven filling and large density fluctuations. However, a six-axis robot-integrated high-pressure foaming machine, by precisely controlling the trajectory and process parameters, can increase the foam molding pass rate to over 99%. How does a six-axis robot-integrated two-component polyurethane high-pressure foaming machine achieve precise PU foaming for automotive seats?
1. Why is a robot combined with a high-pressure foaming machine necessary for PU foaming in automotive seats?
Pain Points of Traditional Manual Foaming
Incomplete Filling: Complex curved surfaces are prone to bubbles or cavities.
Uneven Density: Fluctuations in manual injection speed can result in foam hardness variations exceeding 15%.
Raw Material Waste: Overfilling or leaks can result in up to 20% raw material loss.
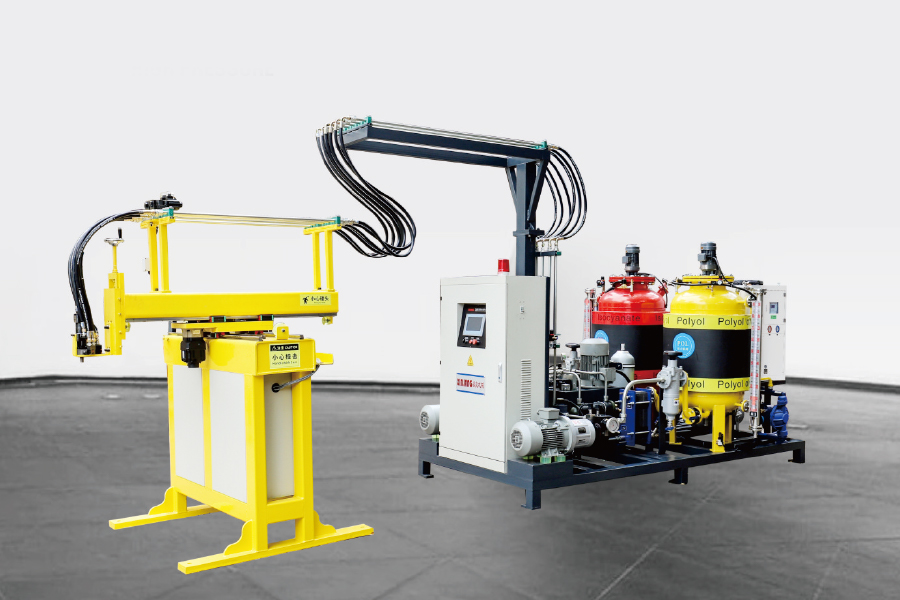
Advantages of a Six-Axis Robot Combined with a High-Pressure Foaming Machine
|
Specifications
|
Manual Foaming
|
Robot + High-Pressure Foaming Machine
|
|
Injection Accuracy
|
±10%
|
±1%
|
|
Repeatability
|
5mm
|
0.1mm
|
|
Production Cycle
|
3-5 minutes/piece
|
1-2 minutes/piece
|
|
Quality Rate
|
85%-90%
|
≥99%
|
Mixing System Problems
- Mixing Head Clogged
Symptoms:
Uneven mixing of components A and B, resulting in streaky foam
Abnormally high injection pressure (>250 bar)
Sudden decrease in discharge volume
Solution:
Immediately shut down the machine, switch to cleaning mode, and flush the mixing chamber with a dedicated cleaning agent.
Disassemble the mixing head for inspection:
Remove solidified material residue (use a copper brush; avoid scraping with hard metal objects).
Check for wear on the dynamic mixer (standard clearance 0.1-0.3 mm).
Preventative Measures:
Perform the automatic flushing procedure (at least 30 seconds) after each shutdown.
Replace the filter element monthly (precision ≤ 50 μm).
- Imbalanced Proportions
Symptoms:
Foam is brittle (too much component A) or soft (too much component B)
Flowmeter indicates a >5% difference between components A and B
Solution:
Calibrate metering pumps:
Test the output of components A and B individually (error should be <1%)
Adjust gear pump speed compensation
Inspect raw materials:
Measure the moisture content of isocyanate (component B) (should be <0.05%)
Preheat raw materials to 35±2°C (temperature affects viscosity)
System Verification:
Perform a static mixing test (measure density after sample curing)
Robot System Issues
- Path deviation
Symptom:
Injection path deviates from mold cavity
TCP (Tool Center Point) positioning error > 2mm
Solution:
Recalibrate TCP:
Use the three-point method to calibrate the nozzle center position
Verify the zero position of each axis (requires a dedicated laser tracker)
Check mechanical structure:
Check harmonic reducer backlash (allowable value < 0.1°)
Adjust balance cylinder air pressure (standard 0.5-0.6 MPa)
Program optimization:
Segmented deceleration for complex paths (corner speed reduced to 70%)
- Singularity alarm
Symptom:
Robot suddenly stops and reports an error
Axis 4/5 approaches coaxial state
Solution:
Path replanning:
Avoid singularity areas in the offline programming software
Add transition points to change posture
Parameter adjustment:
Reduce speed when approaching singularity points (< 50% rated speed)
Enable joint soft limit protection
Foaming process issues
- Foam Voids/Bubbles
Symptoms:
Voids with a diameter > 3mm appear in the foam cross-section
Local density variation > 15%
Solution:
Process Adjustment:
Increase injection pressure (recommended 150-200 bar)
Extend curing time (adjust based on ambient humidity)
Mold Optimization:
Add venting grooves (area ≥ 15%)
Preheat the mold to 40-45°C
Raw Material Processing:
Vacuum degassing pretreatment (vacuum degree ≤ -0.095 MPa)
- Surface Orange Peel
Symptoms:
Uneven texture on the foam surface
Uneven gloss
Solution:
Parameter Optimization:
Reduce injection speed (80% of the standard value)
Adjust the temperature difference between components A and B (recommended ΔT < 3°C)
Equipment Maintenance:
Clean all raw material lines (acid wash once a month)
Check the response time of the pressure regulating valve (should be < 0.5 seconds)
Electrical Control System Issues
- Large pressure fluctuations
Symptoms:
Pressure curve fluctuates in a jagged pattern (amplitude > ±10 bar)
Metering motor frequently adjusts speed
Solution:
Check the hydraulic system:
Replenish accumulator nitrogen pressure (pre-charge pressure = system pressure x 0.8)
Replace the pulsation damper (recommended service life: 2000 hours)
Electrical inspection:
Tune servo driver PID parameters (increase integration time)
Calibrate the pressure sensor (verify 4-20mA signal)
- Communication interruption
Symptoms:
The robot controller loses connection with the foaming machine PLC
HMI displays "Communication Error"
Solution:
Hardware inspection:
Test the Profinet/DeviceNet connector impedance (should be <100Ω)
Replace the fiber optic module (if a flashing red light appears, an alarm will sound)
Software solution:
Reset the master and slave configurations
Update the firmware (pay attention to compatibility)
Safety issues
- Raw material leakage
Symptom:
Isocyanate leaking from pipe joints
Pungent odor in the workshop
Solution:
Emergency measures:
Immediately activate the exhaust system (air velocity ≥ 0.5 m/s)
Treat the leak with a dedicated neutralizer (such as ammonia solution)
System improvements:
Replace compression fittings with welded ones
Add pressure decay detection (sensitivity 0.5 bar/min)
Emergency stop failure
Symptom:
Equipment does not completely stop after pressing the emergency stop button
Safety circuit not disconnected
Solution:
Safety checks:
Test all emergency stop series contacts (resistance should be <1 Ω)
Check safety relay status (verify with LED indicator)
Maintenance procedures:
Test the emergency stop function monthly (record response time)
Replace buttons that have reached the end of their life (recommended cycle: 3 years)
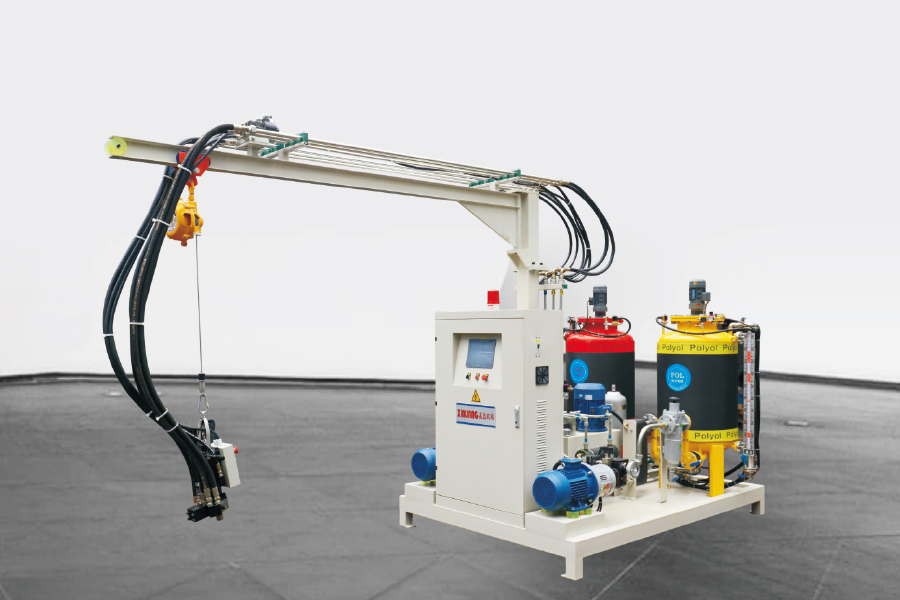
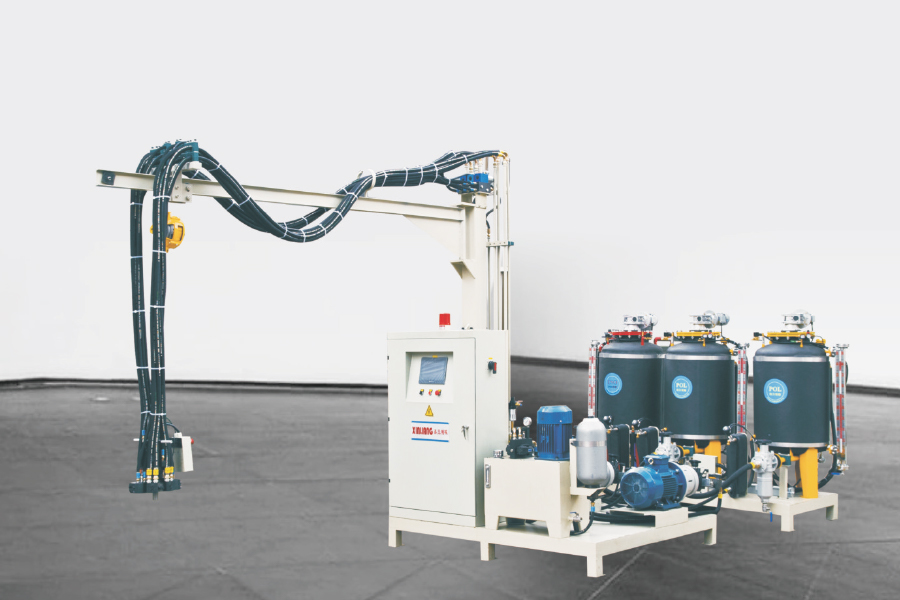
3. Six-Axis Robot Two-Component Polyurethane High-Pressure Foaming Machine Maintenance Guide
Equipment Overview and Maintenance Importance
The six-axis robot two-component polyurethane high-pressure foaming system is a precision device that integrates mechanical, hydraulic, electrical, and chemical processes. Standardized maintenance ensures:
Foaming accuracy within ±1%
Equipment life extended to 8-10 years
Raw material utilization increased to over 98%
Safety incident rate reduced by 90%
Maintenance Levels and Cycles
- Daily Maintenance (Every Shift/Daily)
Pre-Startup Inspection
Hydraulic System:
Oil tank level (2/3 of the sight glass)
Pressure gauge zeroed
Accumulator pressure (Nitrogen pre-charge pressure = operating pressure x 0.8)
Raw Material System:
A/B component temperature (35 ± 2°C)
Raw material tank level (>30%)
Filter pressure differential (<1.5 bar)
Post-Shutdown Maintenance
Perform a 3-minute automatic flushing cycle
Clean the mixing head (with a dedicated copper tool)
Remove polyurethane residue from the equipment surface
Detailed Maintenance of Key Components
- Mixing Head System
Daily Cleaning:
Solvent Flush Pressure > 5 bar
Flush Time ≥ 30 seconds
Deep Cleaning:
Ultrasonic Cleaning (40 kHz Frequency, 15 minutes)
Nozzle Orifice Inspection (Replace if wear > 0.1 mm)
Seal Replacement
Disassembly Procedure:
Release hydraulic pressure
Remove 8 M6 hexagon socket bolts
Remove old seal (do not use sharp tools)
Installation Tips:
Soak new seal in lubricant for 30 minutes
Tighten bolts crosswise (torque 12 N·m)
- Robot System
Grease Replacement:
Drain old grease (until new grease overflows)
Grease Injection Pressure < 3 bar
Wear Inspection:
Backlash Test (allowable value < 0.1°)
Vibration Test (< 4.5 mm/s)
Servo Motor Maintenance
Insulation Test:
Winding-to-ground resistance > 100 MΩ
Phase Balance < 5%
Encoder Inspection:
Clean the optical window
Check cable connections

 English
 русский
 عربى
عربى